Showing posts with label Food forest. Show all posts

Thursday, April 17, 2014

Spring Planting Update - 2014

Hello folks!


I've been busy this past week planting my garden. I usually get out at first light and work on it for a while before I start my work day.

One morning I found this in the garden.


It appears to be a type of fungi. It reminds me of sea sponges that grew in a reef aquarium I had at one time. Just to give it some scale, its about a foot long. When I returned that afternoon it had changed to an orange color. The next day it was yellow again with a black top. Man .... talk about a soil fungal web!


This is a trellis of sorts that I built for Asparagus beans and Cucumbers.


 I just used what I had available from trimming trees back during the fall. It may not suite everyone's taste, but I like the primitive looks of it .... and it was free. It has a tripod at each end and one in the middle. Hopefully, mother nature won't blow it down.


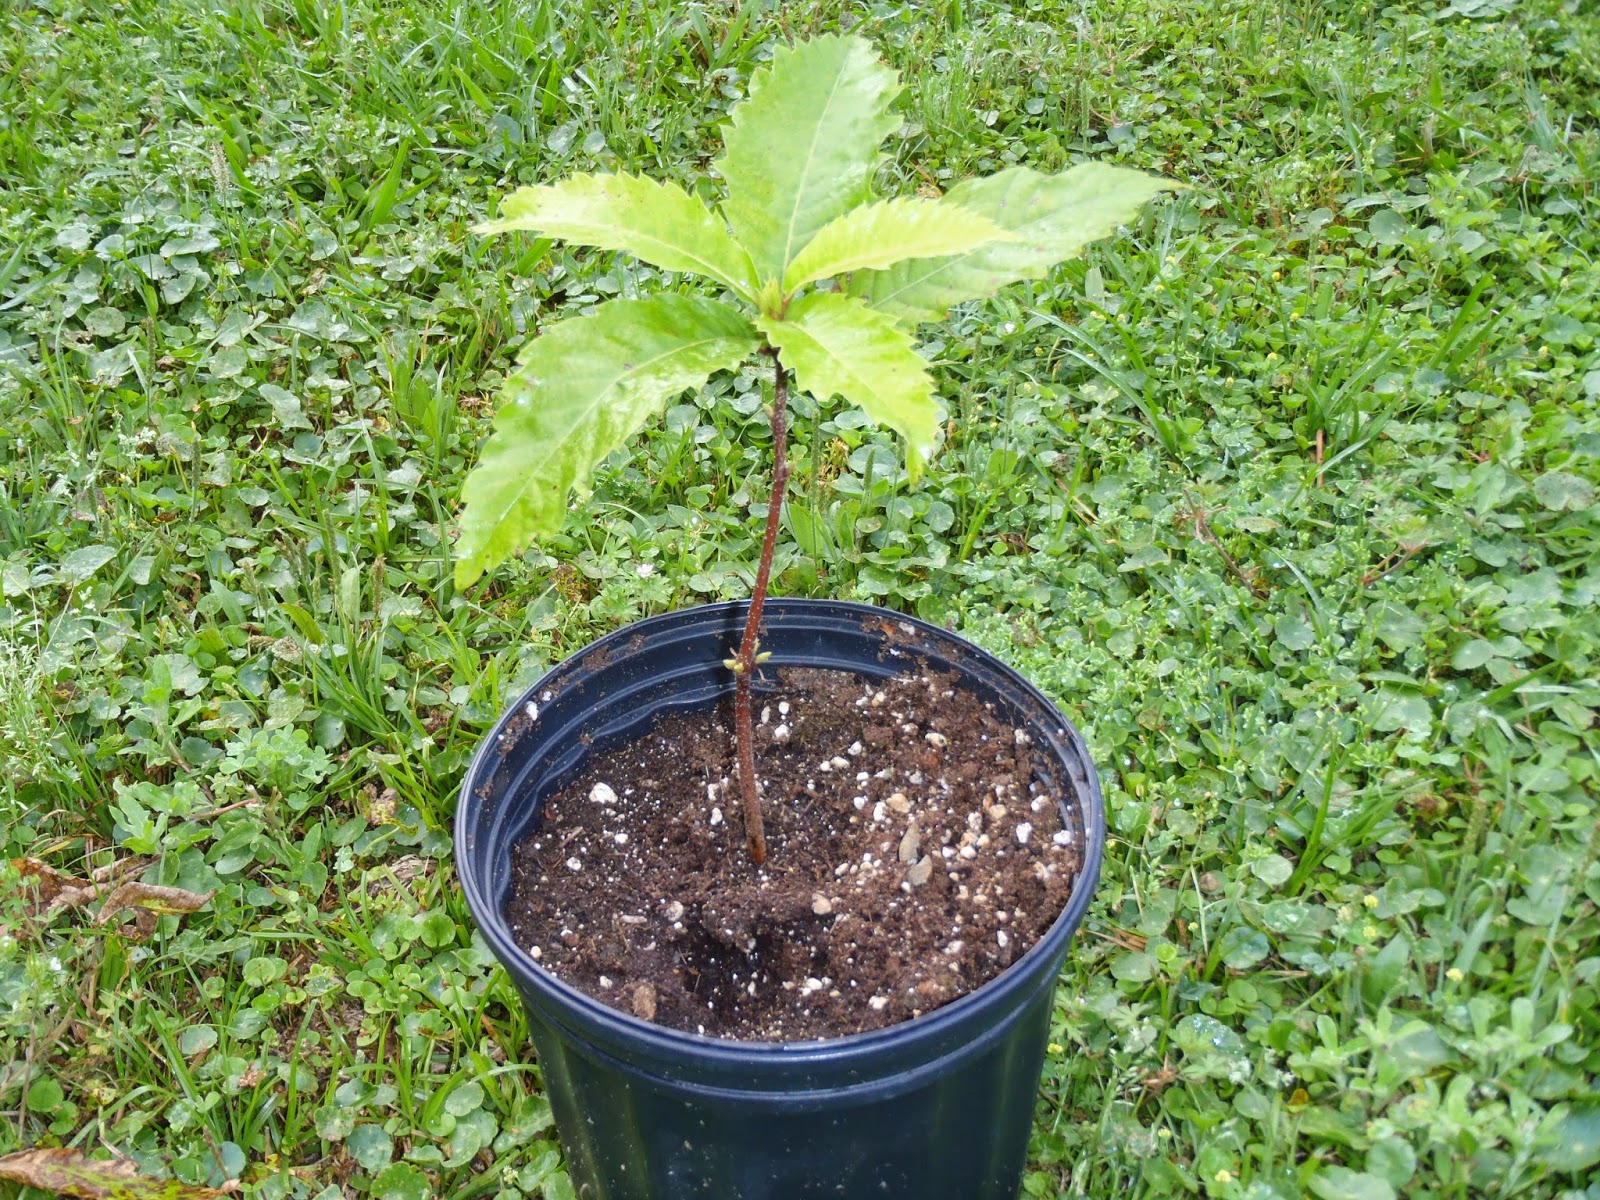
This is the Chestnut that I planted as a seed back during the holidays. It has really grown great! Its about a foot tall now. I will probably have to add it to my food forest area this fall. I wonder if it will produce nuts here in Florida.... Hummm.


Here is a shot of some Bromeliads that I have. I like growing them in pots because they don't require much water. I really like the red ones. According to the Southern Living Garden Book, they are a hybrid.


How are you doing in your garden? Leave a comment and let me know.


Soooo...... Until next time......HAPPY GARDENING!

Friday, January 17, 2014

Lighting for seedlings

Hello folks!


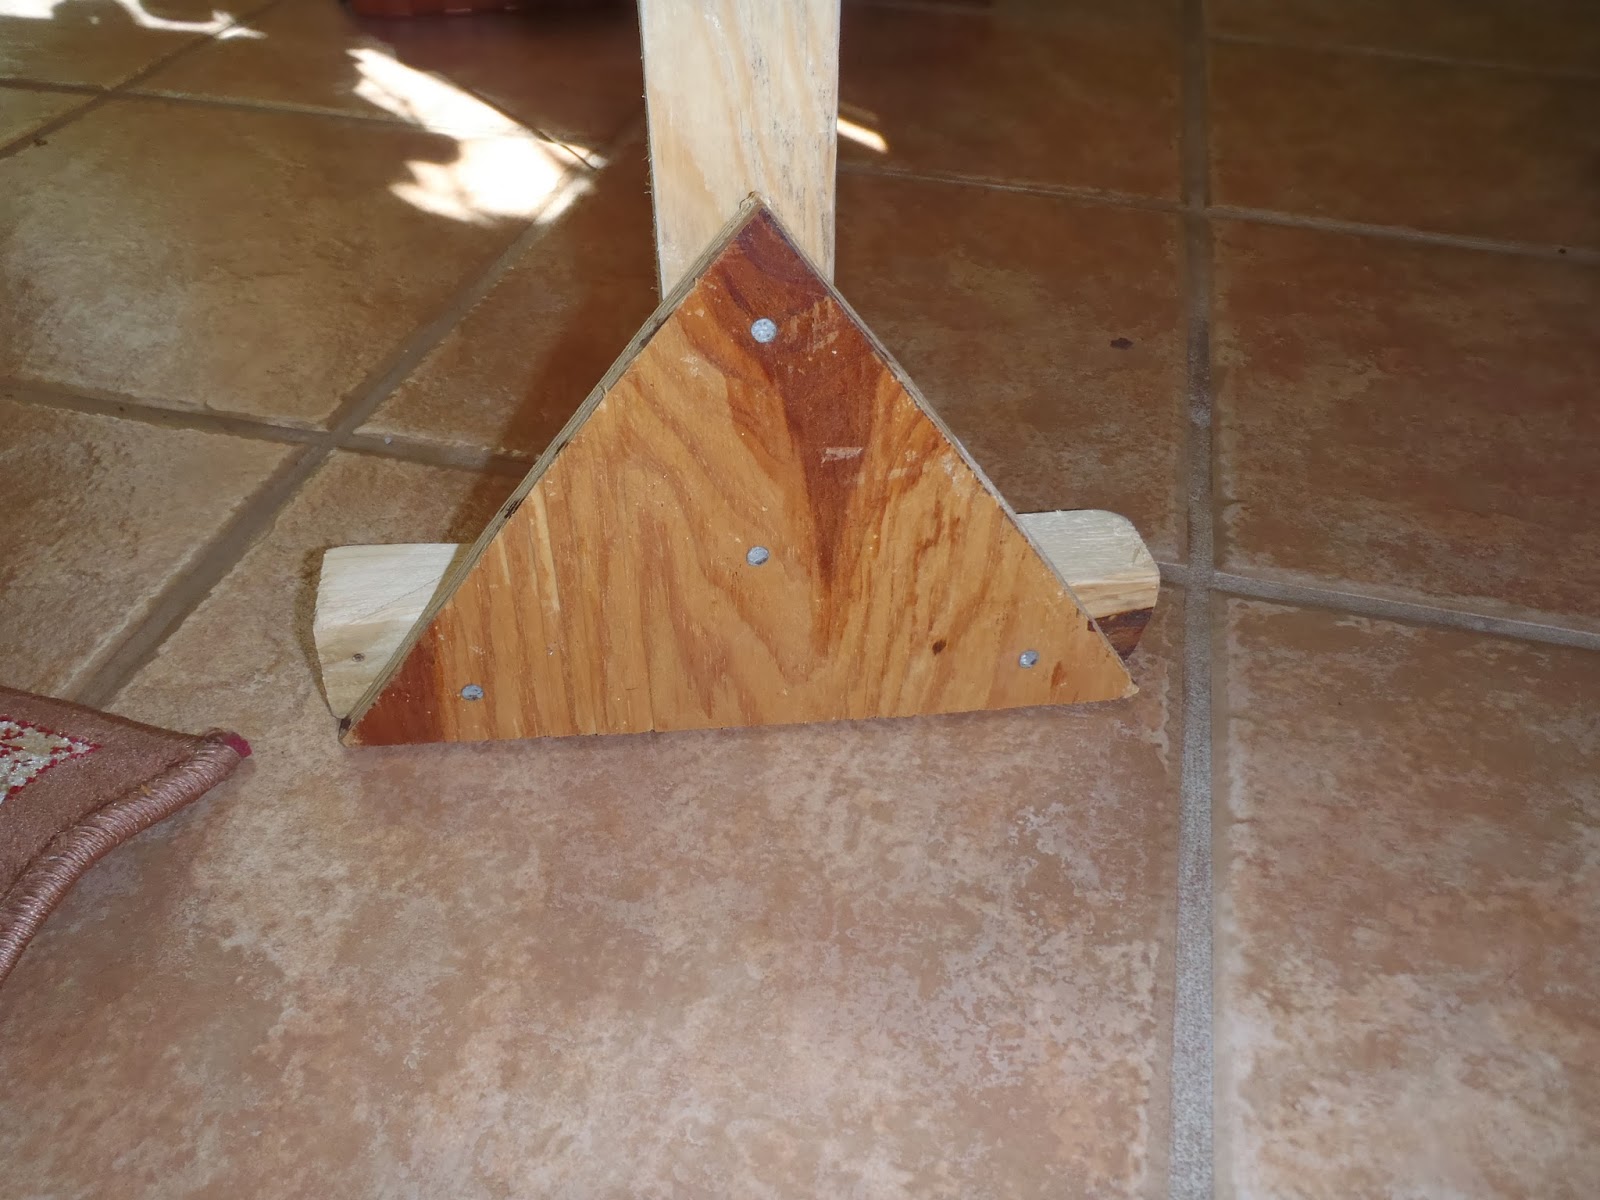
I got to thinking about starting some seeds today and thought I needed some way of hanging lights above the plants. I thought about it for a little while and came up with an idea. It was a nice day so I went outside and built this.


I ripped 2 x 4 lumber into 2 x 2 lumber to keep it light. I connected the top piece to the end supports with angle brackets so that it could be easily taken apart and bundled for storage.


I cut triangle brackets from 1/2" plywood for support at the bottom.


As you can see in the first photo, I hung 2 loops of small chain to hold the lights. These can be adjusted to keep the lights 2 - 4 inches above the plants as they grow. I used 2 aquarium light fixtures that I had for the lighting. Hopefully this will be enough light to get them started. I built the stand so that I can add more lights if needed. And I should be able to take the plants outside on nice days to give them some sun and to help harden off the plants.


During the holidays my house mate was making stuffing. She was using Chestnuts as one of the ingredients in her receipt. I started wondering if these nuts would sprout and grow. While she wasn't looking, I grabbed one. It was a very hard nut so I cut a little off the bottom thinking this would help water soak into the nut. I planted it in a pot with some organic potting soil. A couple of weeks ago I got curious and dug the nut out to take a look. It had sprouted a root! I put it back in the pot and covered it up with soil. Today I checked on it and it has sprouted above the soil and and is trying to grow leaves! .


I'll let it grow until it out grows the pot and then add it to my food forest. It will be a welcomed addition.

Starting seeds is a good way to be actively gardening during the winter months. If you are doing anything to stay active with your gardening, let me know . Maybe it will give me some ideas to work with.


Soooo......Until next time......HAPPY GARDENING!

Sunday, November 17, 2013

First tree in the food forest

Today I transplanted a small Fig tree that was in the area where my future vegetable beds will be. This is the third time I have transplanted this tree since I moved here . It is being planted in the area that will become my food forest, so this should be the last time it gets moved.

I'm going to be using hugel culture methods for my food forest. I've read that hugel culture is German for mound culture, which means growing in a mound. This would be accomplished by placing a stack of wood (tree trunks and limbs) on the surface and covering it with a mound of soil. But in Florida's sandy soil, I think a mound will dry out too fast. So I will be burying the wood, then planting on top of it, creating a bed that is only slightly raised.

I started out by digging a planting hole about 2 feet deep and 3 feet wide.


Then adding 2 layers of well aged fire wood with a rotten stump in the middle.


On top of that I added some rotted moss covered limbs that came out of my Oak trees during some recent high winds. This layer along with the rotted stump, should start soaking up water quickly, to retain water during dry spells.


 Then I topped that off with some leaves and palm fronds that came out of a load of wood chips.


Then I backfilled with soil and planted the Fig tree, creating a watering ring as I watered it in.


Inside the ring I mulched with leaves and twigs from a Wax Myrtle (Myrica cerifera), which is a nitrogen fixing, native plant that grows in this area. I think this should start decomposing by spring, releasing nitrogen into the soil to replace nitrogen that it being used up by the rotting wood. Outside the ring, I mulched with a thick layer of wood chips, creating a bed for this tree that is 6 feet in diameter.
 
 
In the spring I will plant some beneficial plants around it to create a fruit tree guild. By this time next year, we should be able to see the benefits of this permaculture method.
 
 
Sooo.... Until next time....HAPPY GARDENING!